Grilled AsparagusIngredients:
|
 |
Directions:
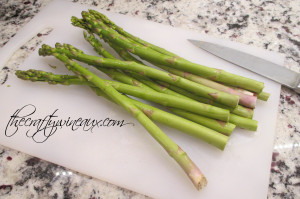
1) When buying your asparagus, shoot for a mid size; the small ones are too stringy and cook limp and the fat ones can be too fibrous and hard to eat. About the diameter of a dime on the bottom usually wok out to be the best for cooking and eating. Take the asparagus out of the fridge and wash only the stems you plan on using. I find they get slimy and go bad sooner if they are allowed to be wet in the bag. When storing these, they last longest in a dry container that breathes slightly. I usually plan for 4-6 stems per person, but since this is the one green veggie Redding actually gets excited about, I usually cook extra for him.

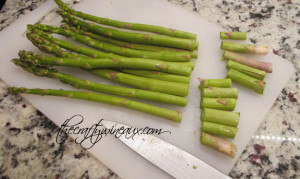
2) Cut off the bottoms of the asparagus. As you can see, I’m a little liberal about this and it’s because I’ve found that the bases of these veggies get more of that “impossible to chew fibery-ness” when they’re been allowed to dry out and this is exactly what they’ve been doing the whole time from the farm to your table. How much to cut is totally your call. Rest them in a bowl of ice cold water for 10-30 minutes so they can rehydrate some once the bottoms are taken off.

3) Here’s where the choice in how to proceed is up to you. You can do one of two things at this step and it’s all about preference:
- If you prefer your veggies more crunchy, you can go straight to the grill – Grind a little salt over them while they’re wet, then put quick grill marks on them and get them AWAY from any open flames after that to “bake” (this is a good use for that weird shelf they put in your grill…). They will be crunchier, definitely more fibrous, and dryer, but some people prefer this and this is the consensus style at most steakhouses. Grill marks are quick over open flames ~10-20 seconds a side depending on how hot your flame is and be sure to keep them away from sources of a flare-up like a big juicy steak or other fat contributor once they’re “baking”. Those cute little petals burn quickly and there’s a very fine line between yummy grill marks and nasty charred veggies here. Bake about 5-10 minutes until they’re tender – not limp or wrinkly.
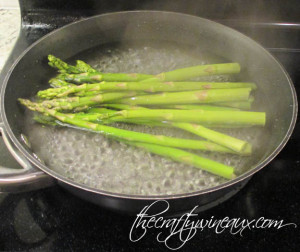
- If you prefer your veggies softer and more cooked (like Redding does), you can flash blanch them, like I have below, before you take them out to the grill. To do this, bring about a half inch of water up to a strong boil in a shallow skillet/pan. Make sure the pan you use is wide enough to fit in the asparagus so they can cook evenly. Once the water is boiling, toss in your asparagus and leave them in there no longer than it takes for them to turn bright green. It pays to plan and have your tongs and a plate ready to go here. Once you’ve removed the asparagus from the water, grind a little salt over them and go out to the grill. Again, you only need ~10-20 seconds a side to get the grill marks on, and then set them aside in the grill far from flame to bake for ~2-5 minutes. When these are ready, they will be slightly less structured than when you started, but should be a long way from limp noodle status. Unfortunately, as a classic Southern-boy, Redding likes his veggies cooked beyond recognition, so if I’m not policing this, I tend to get creepy wet noodles. They are tastier and better for you if you don’t cook the hell out of them.

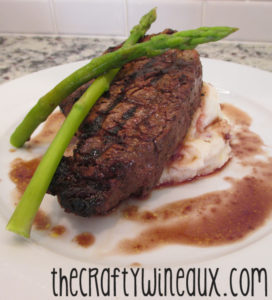
4) Serve with a beautiful juicy piece of red meat like this beautiful filet mignon below, some of my garlic mashed potatoes and a nice full bodied red wine! The sauce pictured is a red wine reduction that is fabulous on grilled asparagus too! Enjoy!


