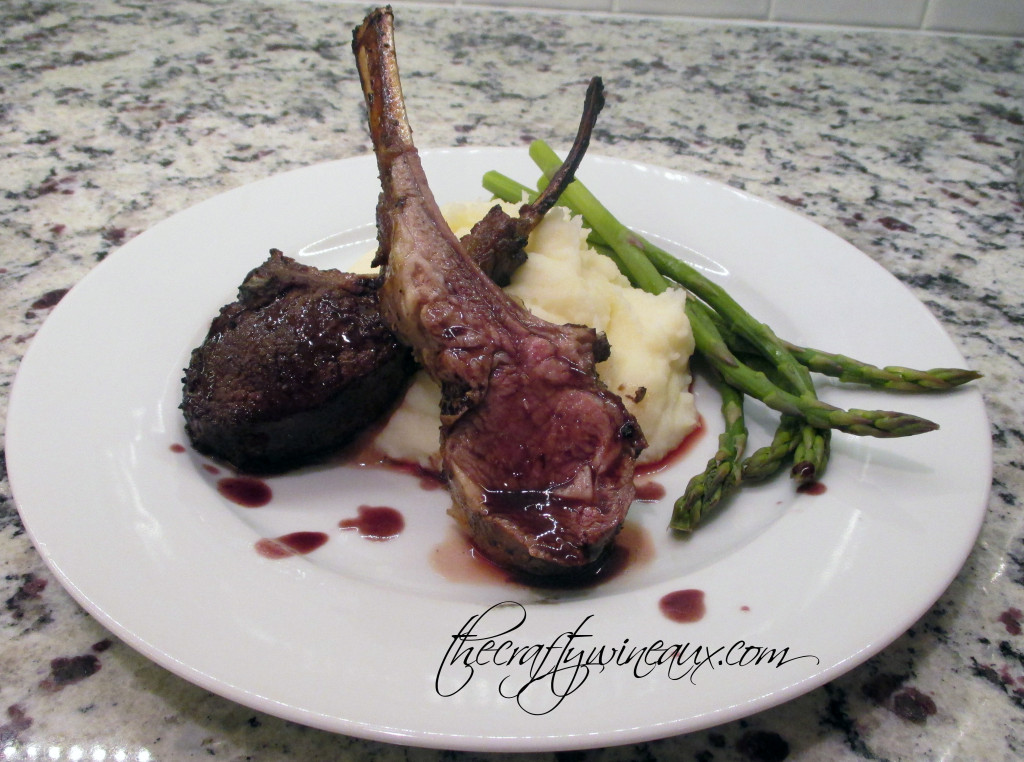
 Succulent Homemade Rack of Lamb that’s Pinterest-Fail-Proof
(Unless you’re Redding and set the hot Pyrex pan down in the snow… Story farther down, lol.)
Ingredients:
– 1-2 packs of Frenched lamb racks (ours were ish 1lb each; Red insisted we needed both and we didn’t even start on the second one. Personally, I’d say one rack is good for two people, but I eat lightly when I cook heavily (a nice side effect), so it’s best to assume 2 racks of a similar size serves 3). Buying tip: older lamb is less gamey and more tender – Red shoots for 30+ months when possible, but that can be hard around “lamb seasons” like Easter, Valentine’s and Christmas.
– 1 bottle of white wine (or the better part of the bottle left from yesterday)
– 2 Bay leaves
– Sea Salt Grinder (ideally in a grinder like this one)
– Peppercorn Medley Grinder (ideally in a grinder like this one again)
– Garlic and Peppercorn Blend Grinder (Optional)
– Dill Weed
– Sage Power
– Dry (or fresh) Thyme Leaves (powder works too)
– Head of Fresh Garlic
– Fresh Rosemary if you’ve got it
– Red Wine Reduction Sauce (Click here for the recipe!)
– Water
– Patience (this can take anywhere from 2 hours to overnight, but that part is your call in the marinade step)
– A glass of wine (for the cook, of course)
Step 1: Marinate your Lamb
Lamb (by definition) is a very young meat which means there’s not a lot of muscle and a decent amount of connective tissue that ruins the tenderness of the meat. Since the “rack” cut is muscles connected to rib bones, there can be more of this to tenderize, so marinating this with a natural tenderizer is a must – but that doesn’t mean meat tenderizer in a bottle this time!
For the Marinade, you need:
– 1 bottle of white wine (or the better part of the bottle left from yesterday)
– 2 Bay leaves
– 1 tbsp Course Ground Salt (ground or not ground is cool here)
– 1 tbsp Course Ground Black Pepper (ideally in a grinder, but the pre-done course ground works)
– 1/2 tsp Dill Weed
– 1 shake of Sage Power (fresh is ok if you’ve got it; sage can be powerful, so don’t get crazy with it)
– 1tsp Dry (or fresh) Thyme Leaves (powder works too, but use only a shake again)
– 5 cloves of Fresh Garlic, Smashed
– Fresh Rosemary if you’ve got it/want it (I think it can make it taste a bit floral/piney and can take away from the lamb flavor, but it’s your call)
– Water
– 1 Gallon Ziplock
– Pyrex Pan (Unshattered)
Instructions:
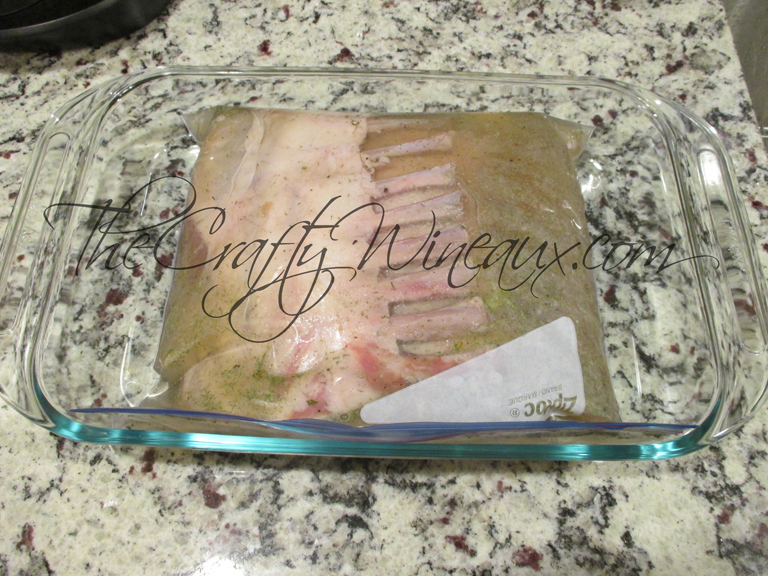
Step 1: Remove your lamb from the package. Don’t rinse it; just place it/them inside the gallon sized zip-lock set inside the pyrex pan (to prevent leaks). If your lamb is already defrosted, you should do the marinade on the counter at room temp for 1-2 hours – The closest it is to room temperature at the time you cook it, the more evenly it will be cooked. Plus, it’s literally impossible to get a true medium-rare if you skip this step. If your lamb is frozen, you should consider thawing it before starting, or you can let it defrost and simul-marinade in the fridge overnight, but it still needs to come to room temp BEFORE you start cooking it.
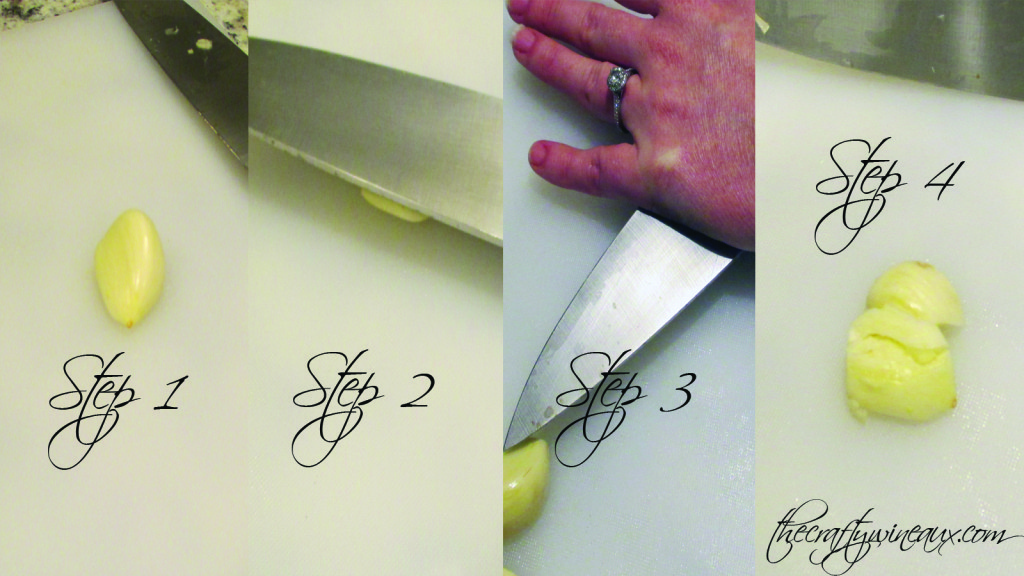
Step 2: Get your marinade ingredients together. Specifically, if “smashed” garlic is throwing you off, follow the steps below: 1) Peel clove and cut off woody bottom and any creepy spots; set on cutting board 2) Place broad-blade knife on top of clove 3) Firmly place hand on top of knife on top of garlic and press down hard until garlic crushes 4) Wahlah!
Step 3: Combine marinade ingredients straight into the gallon sized bag with the lamb in it. Save the water for last. Once everything is in, you’ll need to squeeze as much air as humanly possible out of the bag without making a mess – this is where the water comes in: if there isn’t enough liquid to pull this off, add only as much water as you need to get it closed. The wine is the acidic component of this marinade that breaks down the connective tissue, so don’t skimp on it. It’s best to use a whole bottle per bag of racks. You can do it with red too if you’re feeling frisky, but I find the white is better at not overpowering the natural meat flavor.
Step 4: Once zipped, mess with the bag some to mix around all the ingredients. Depending on how you plan on handling your marinade/if your lamb is defrosted (see Step 2) either leave the tray on the counter to warm for 1-2 hours or set the whole thing in the fridge for a longer period of time.
After the marinade: (and when the lamb is at/almost at room temp):
Step 1: Preheat the grill so that it’s ready for a hard sear as soon as you’re ready to get started. The grill thermometer should be north of 450 degrees F when you start. As always, be prepared with a fire extinguisher or other fire-snuffing tactic because grills do flame up badly from time to time (Ours really did on this specific adventure, and it NEVER hurts to be prepared).
Step 2: Remove the lamb from the marinade bag and place into a clean Pyrex dish. Discard the marinade.
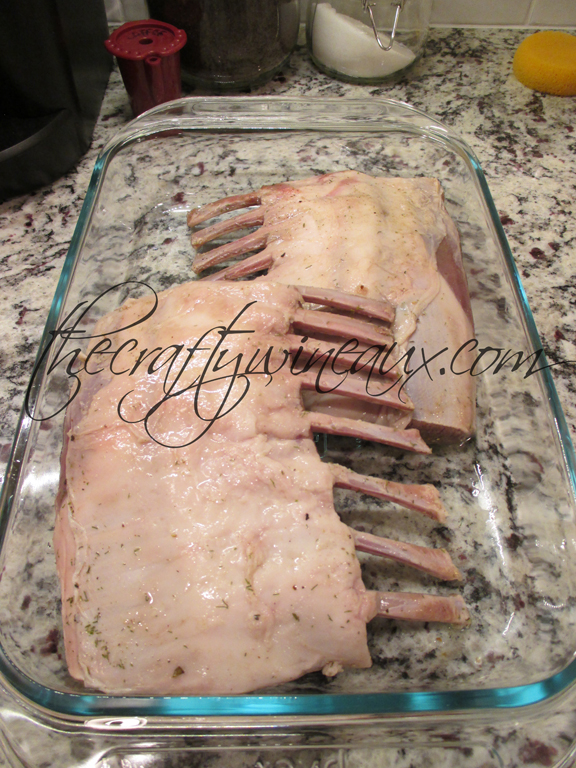
Step 3: Use the salt grinder, pepper grinder, and optional pepper and garlic grinder to salt/pepper/garlic all sides of the meat – this isn’t a rub, so don’t go wild.
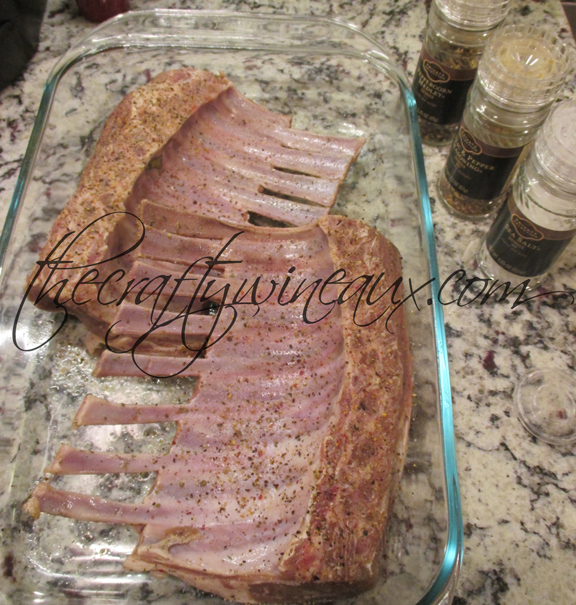
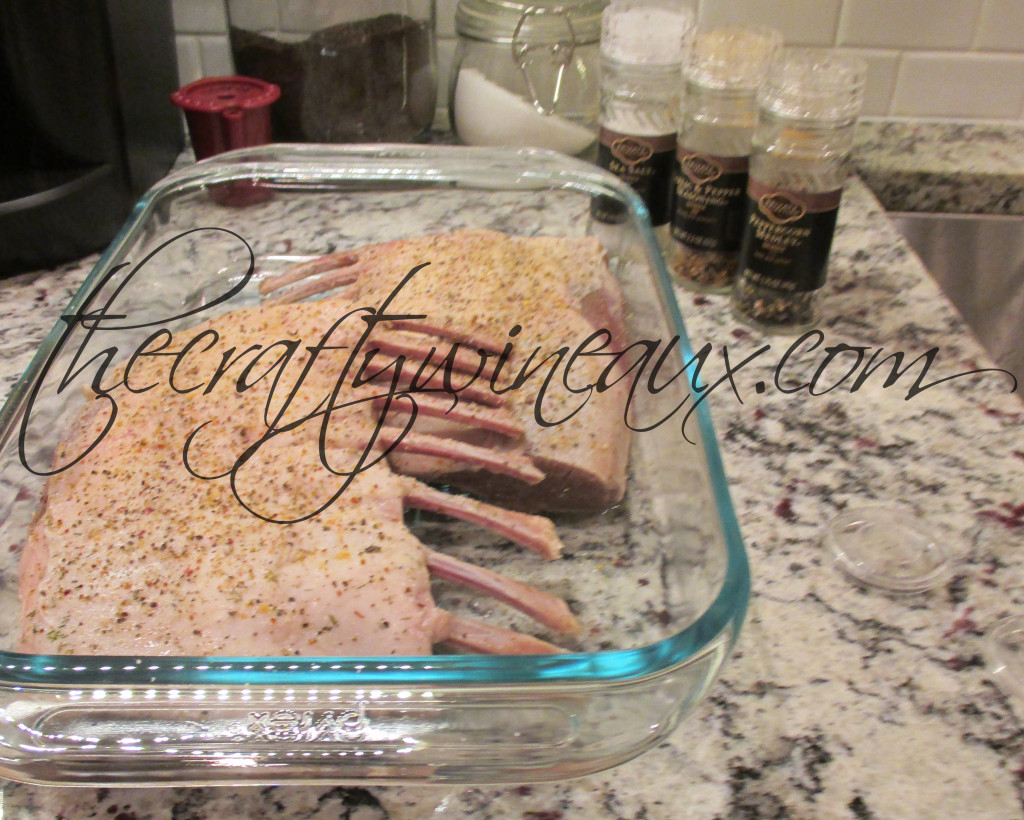
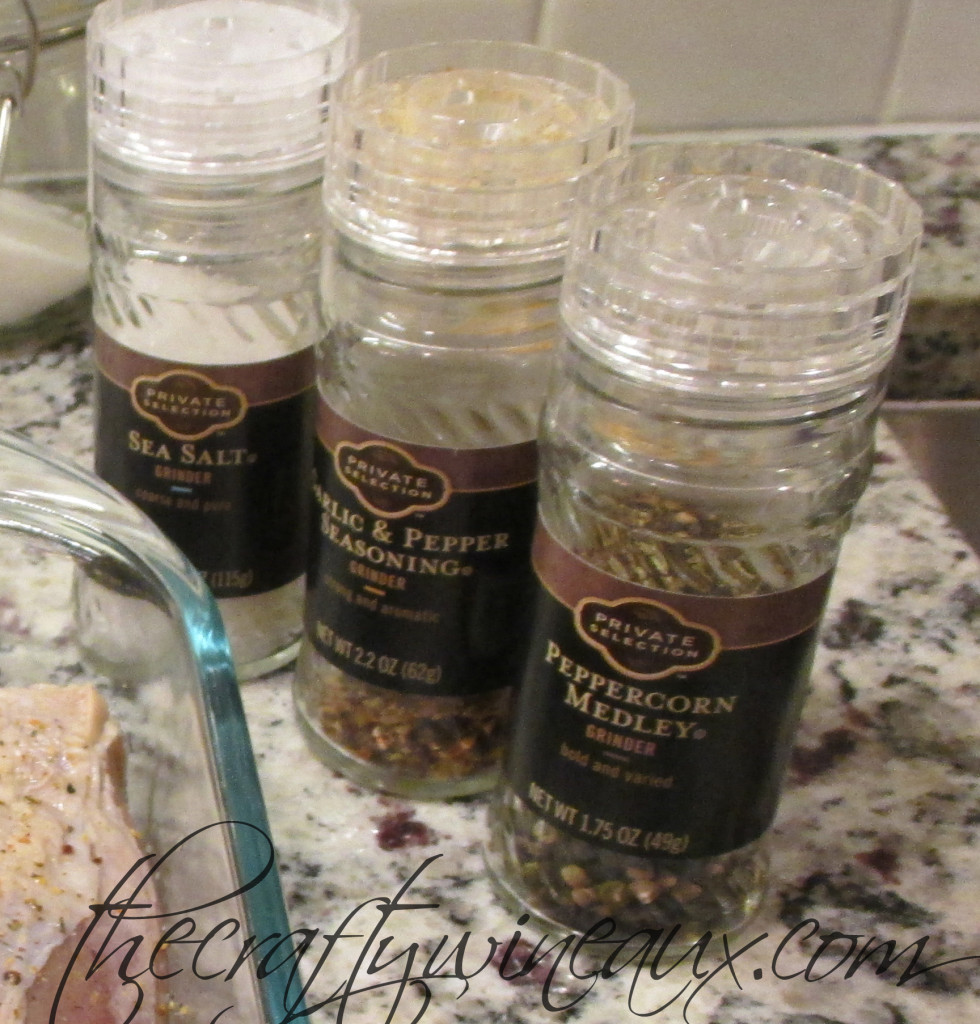
These are the salt, pepper and pepper+dried garlic grinders I swear by and they’re reasonably inexpensive at our Kroger and they’re just the store-brand version too. If you don’t have a Kroger by you, these ones off Amazon are great too: Garlic and Peppercorn Blend Grinder, Peppercorn Medley Grinder
, Sea Salt Grinder
.
Step 4: Head out to the grill. Remember: the sear temperature should be at or well above 450 degrees F! Redding likes to sear the meat 2-3 minutes per side to make sure all of the moisture is well-blistered in during the cooking process. We start fat side up since the water in the meat evaporates faster than the moisture coming from the fat. Keep the bones off of direct heat since they will not only dry out and become brittle, but it will also cause the meat to cook unevenly if they heat up too much too quickly.
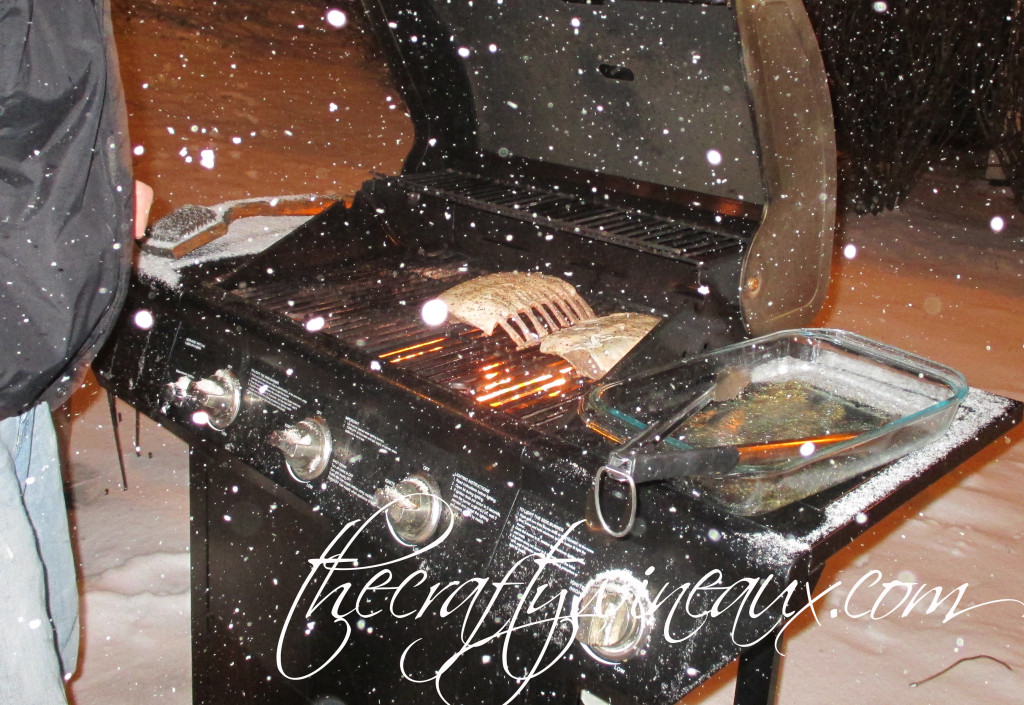
Step 5: After you’re through searing the meat, lower the grill temperature to medium, medium high (~350F) and be sure to keep the bones OFF of direct heat. We start this part fat-side-up because as the meat cooks and the fat melts, all of those awesome flavors are driven into the meat rather than out into the grill. Be wary – we did actually have a pretty good flare up this time because the fat on the lamb.
***This is also the part where we discovered that hot Pyrex + Cold Snow = Shattered Glass. (Spoiler alert: we saved the lamb!) You think a couple of scientists coulda figured that one out, but we didn’t – and further hilarious side note: I asked for new Pyrex for my bridal shower and wouldntcha know it? RIGHT ON THE FRONT OF THE PACKAGING “Avoid extreme temperature changes”. RIP old Pyrex (learn from my mistakes, y’all…).
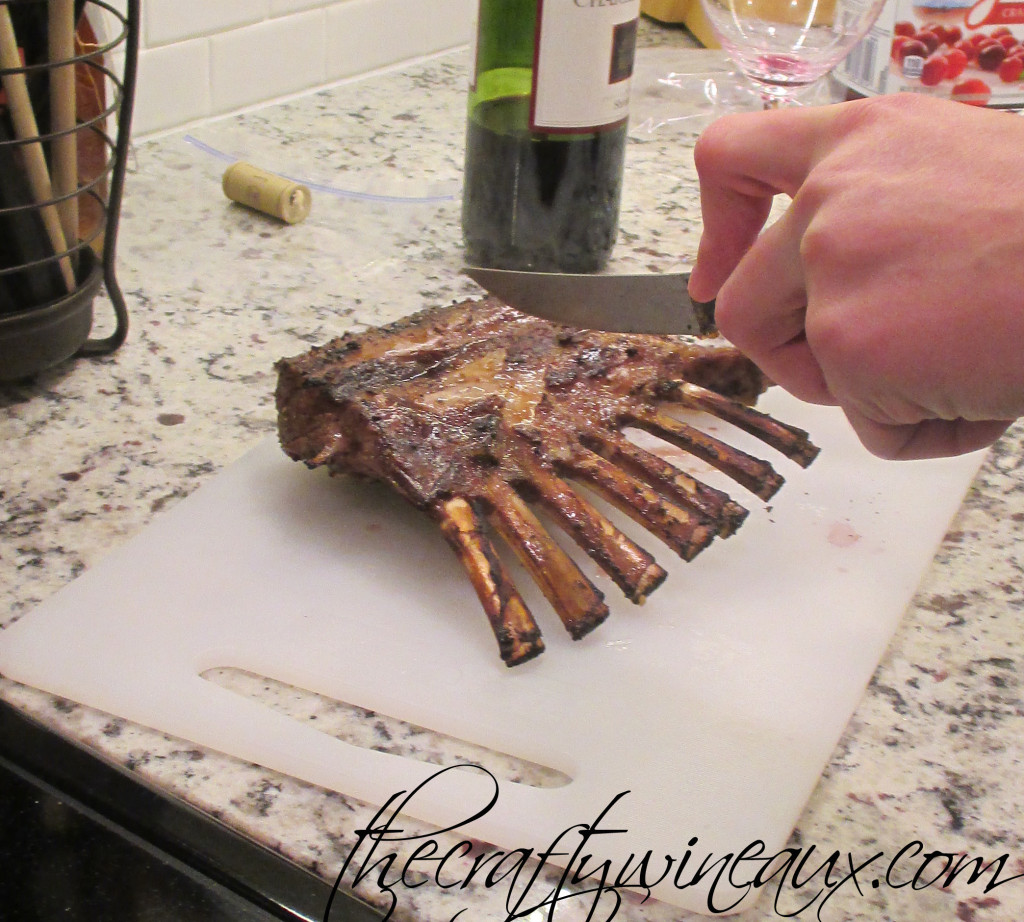
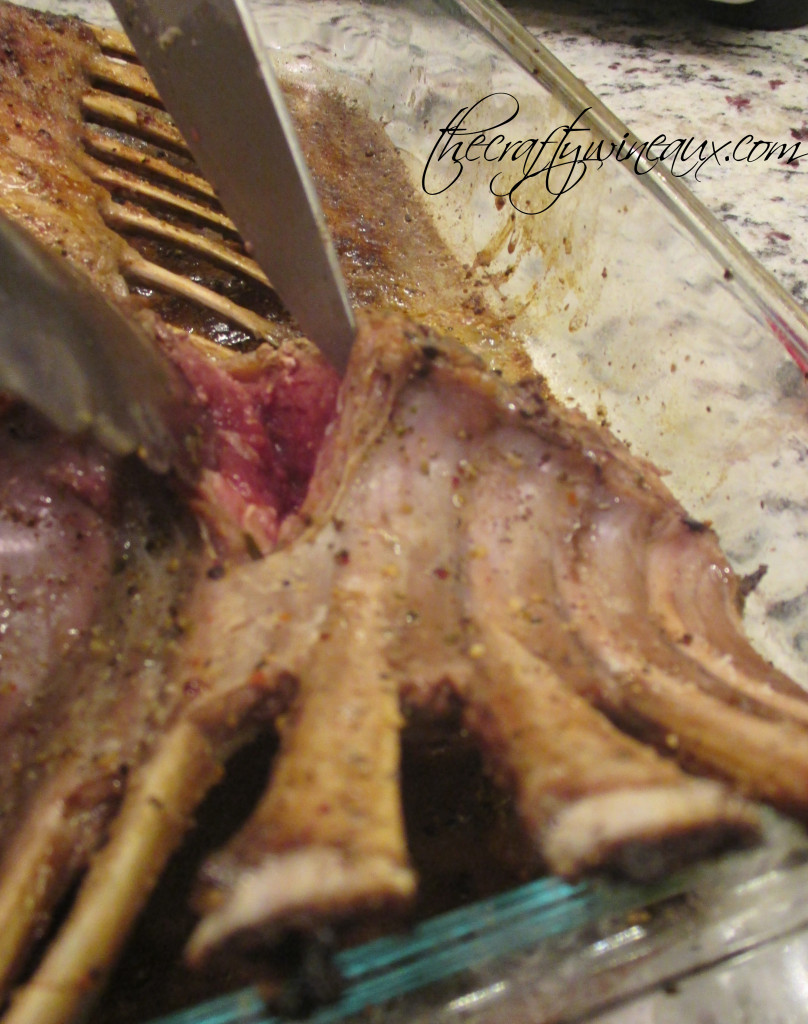
Step 6: To check done-ness, you can either cut into the meat, or you can use a meat thermometer. If you’re looking at color, you want the meat to be more red than you want it to be when you eat it – not too much – because that standing process cooks it a little bit more and helps the heat evenly distribute throughout.
If you’re shooting for internal temperature: (make sure you’re in the center of the meat, as far away from bones and the edge as possible since both of these throw off the actual reading)
Rare: 120 degrees F
Medium-Rare: 125 degrees F
Medium: 130 degrees F
Let the meat stand on the cutting board for 10-15 minutes before carving. Some people like to cover the meat with foil so it stays hot, but if you do this, keep in mind that this will cause the temperature of the meat to rise more than if it was just left at ambient temperature.
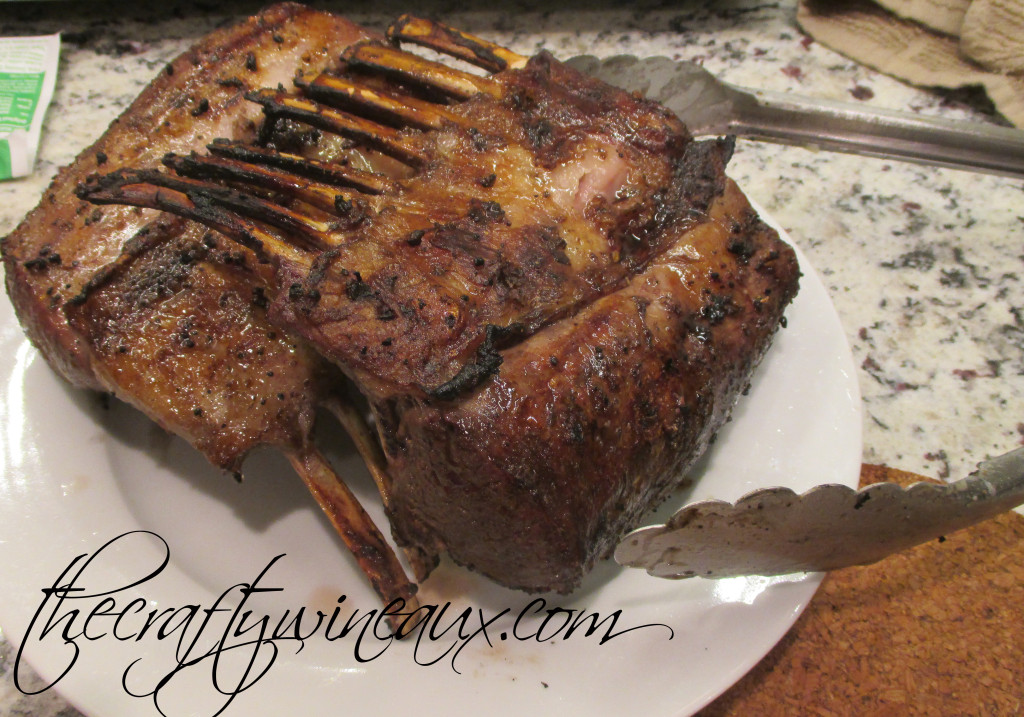
Step 7: After the meat is through resting, cut the rack into individual rib portions by holding the bone tips up with one hand and cutting with a very sharp knife in between each of the bones in the rack. Serve with my Garlic Mashed Potatoes, steamed or grilled asparagus, and my Red Wine Reduction Sauce. I like to serve mine with a Carmenere (try the less expensive, but still awesome Casillero del Diablo) wine or another non-heavy/high-tannin/high-astringency red wine.
Enjoy!!
