
 How to Upgrade the Look of Your Staircase in One Weekend for Under $100
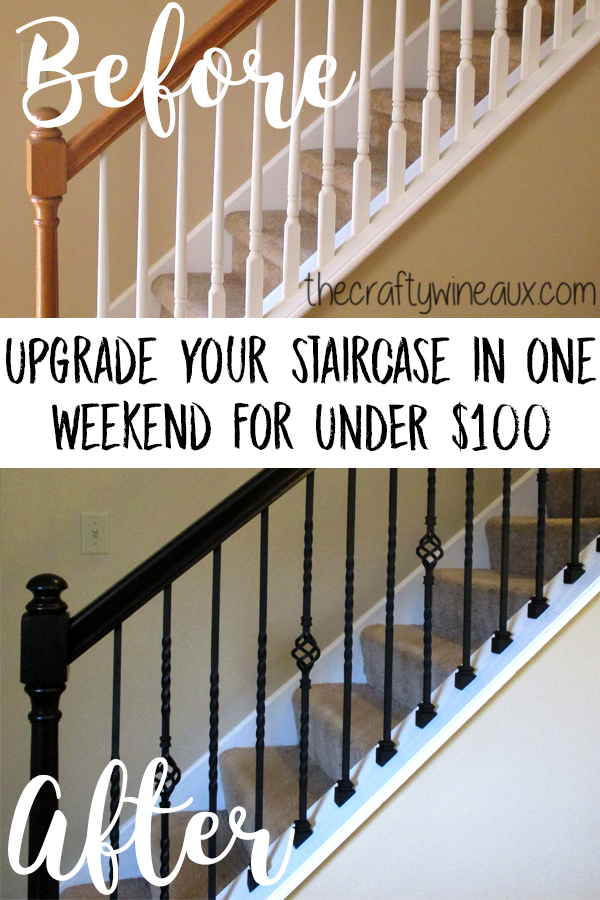
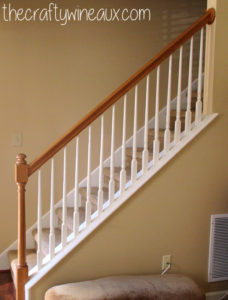
Have you been looking at your old and outdated staircase thinking about what you can do to make it look better? We sure did… Here is your chance to change the look of your home on a dime! We did this in one weekend with a total cost of under $100.
Things We Bought:
- Liquid Nails
- 5 Basket Balusters
- 10 Twisted Balusters
- 15 Angled Baluster Shoes
Tools We Had:
- Kona Stain by Rustoleum
- Satin Finish
- Black Caulk
- Sawzall
- Lint Free Cloths
- 150 grit sand paper
- 400 grit sandpaper
- Plastic Putty Tools
- Heavy Duty Stripper
- Hammer
- Finishing Nails
- Measuring Tape
- Drill
- Drill Bit in Baluster Diameter
Remove your Existing Bannister – Total time: 30 minutes
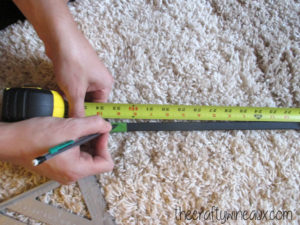
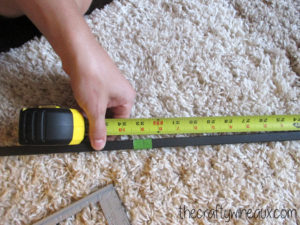
The first step is to measure the height of the existing balusters. You will be cutting the wrought iron balusters to the appropriate length and need this measurement. Measure in multiple places to ensure that the height does not vary from the top or bottom of the staircase. Write this number down and save it on the fridge or something.
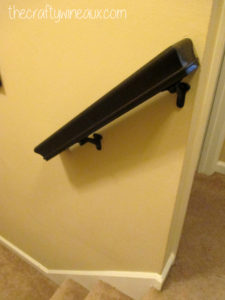
Next, check the main post at the base of the staircase to see how it is secured. It is likely secured by two or three large bolts at the base. Remove the bolts or screws that anchor this post and move to the next large post to do the same. If the railing is secured to the wall (as ours was at the top), try to loosen or remove this connection gently without damaging the wall.
Once all of the main posts are no longer secured, the railing is only being held on by the balusters. Ours were secured with small nails at the base and stuck into pre-drilled holes in the railing. This is best done by removing the entire railing at once. Try picking up on the railing to see if the balusters were secured with caulk – if they were not, you can simply pick the railing up and the balusters will remain secured to the staircase. You can now remove each baluster!
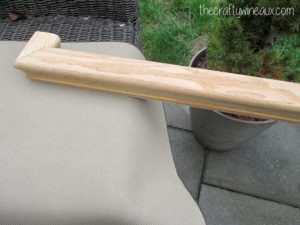
Refinish the Railing – Total Time: 1.5 days
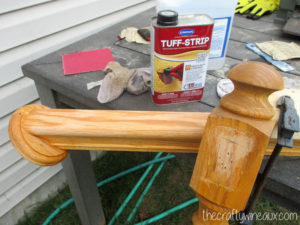
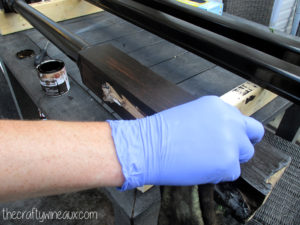
This step takes the most time to do, but with perseverance it can be done! Separate each piece of the railing from the posts and remove the nails or screws holding them together. We started by stripping the finish with a heavy duty stripper
. It is best to spread the stripper thick (use a LOT!) and leave it on for about 20 minutes before trying to remove it. We used plastic putty tools
to scrape the stripper+finish off of the railing. The plastic tools prevent damage to the wood and are easy to use.
The stripper will not remove all of the finish, so after two rounds of stripping the railing, it is time to sand. Start with 150 grit sand paper
. We used the combination of a power sander on the flat spots and hand sanding on the detailed spots. After doing the entire railing, go over it one more time with 400 grit sandpaper
.
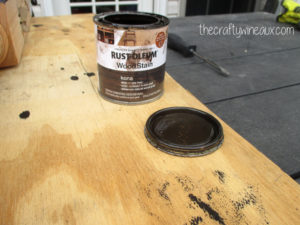
It is time to stain your railing! We wanted to match our hardwood, so we took a piece of extra flooring to the hardware store to pick a stain. If you want to use the same color as us, this is the color we used from Rustoleum
. Always spread a small amount of the stain in an inconspicuous place to make sure it is the color you want. I recommend trying this on the underside of the railing – you can always use the stripper to remove it if the color isn’t right.
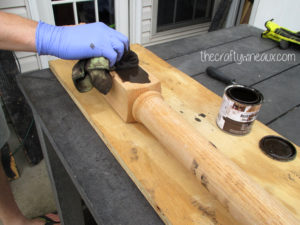
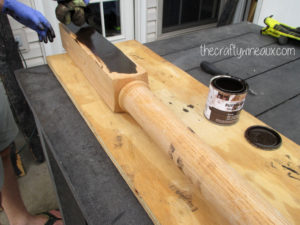
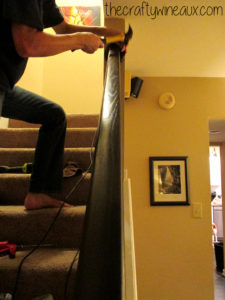
Stain the railing and the posts one section at a time. I wiped the stain on using a lint free cloth
(from Harbor Freight – about $0.75 per cloth) and then used a clean cloth to remove any excess stain. Allow everything to dry before repeating this process. I waited about an hour between each coat. Repeat until it is the desired color / darkness. After the desired color is obtained, wait about 4 hours before sealing with polyurethane.
When you choose your polyurethane, keep in mind that glossy is much stronger than satin or flat. We decided to use a Satin
and applied a couple of extra coats for added protection.
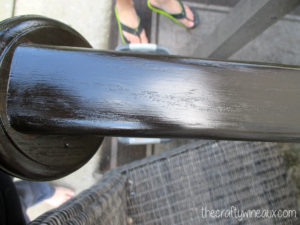
Wipe on the polyurethane with a lint free cloth. A thin layer is desired for the first coat. Allow to dry for 1 to 4 hours before applying additional coats. Apply at least 3 coats – you do not want to skimp here. The polyurethane protects the railing from visible wear and is very important. We applied 5 coats since we were using the satin, which is not as durable as a glossy finish.
Prepare for installation of balusters – Total time: 1 hour
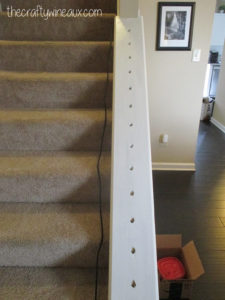
Each wrought iron baluster will have to be cut to length to fit your railing. The first step, before cutting the balusters, is to pre-drill the holes in the staircase in which the balusters will be inserted. Mark the locations where the previous balusters were installed and drill new holes. These holes should be perpendicular to the ground – ignore any slant that the staircase may have. These holes should all be drilled the same depth to ensure a uniform installation. I ensured uniform depth by marking the drill bit all the way around with a permanent marker. This makes it easy to see when the bit has reached the right depth.
Ensure the holes in the bottom of the railing are thick enough to fit the baluster. If they are not, use a thicker drill bit to make them large enough – once again maintaining consistent depth.
Cut balusters to length – Total time: 1 hour
The answer of how to cut wrought iron is actually quite simple. The first and easiest technique is to simply use a chop saw with a metal cutting blade. You can put a metal cutting blade on a circular saw or a miter saw as well. These blades are about $5 at any major hardware store and work great! I used a reciprocating saw or “Sawzall
” to cut through the metal because I already had it. They accept metal blades and are quite easy to use.
Measure the height that you want the balusters. Measure the depth of the hole in the staircase and the depth of the hole in the railing and add these to the baluster height (eg. 35” baluster height + 2” bottom hole depth + 1.5” top hole depth = 38.5”). Now subtract 0.5” from this total to ensure the baluster will fit (eg. 38.5” – 0.5” = 38”) just to be super safe.
Measure from the center design in each baluster to make sure the design is centered. You may have to cut both the top and bottom of the balusters. Tape the baluster with painters tape along the cut line and mark the cut line with a permanent marker.
Make sure you wear safety goggles and gloves!! I am bad about not doing this, but it is vital here! Metal shards are very hot, so be safe!
Secure the baluster to a work surface with at least two clamps (pad the clamp with a rag or towel to make sure you don’t scratch the baluster’s finish) and cut along the line.
Installation of Balusters and Railing – Total Time: 1 hour
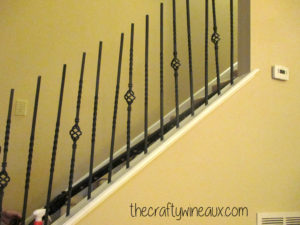
Put any shoes that you want to use on the balusters. Place all of the balusters in the pre-drilled holes to ensure they fit. Make sure the shoes are on before proceeding! We failed and thank goodness we figured it out before we permanently put things together!
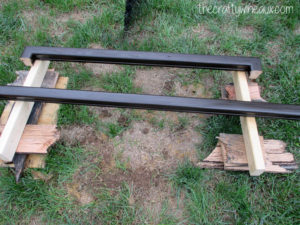
Now secure each of the posts – We have just the one, but you may have more than one depending on your house. We used larger bolts than were used before in an attempt to make the railing more secure.
Pick up the railing and place it on top of the balusters. Help is much appreciated on this step! Have someone put each baluster into the appropriate pre-drilled hole on the railing and then to help guide the railing onto the balusters.
Now use finishing nails to secure the railing to the posts (or wall plate in my case). If you don’t like the look of the nails, you can always put some stain on top of the nail heads to hide them.
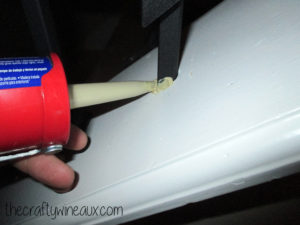
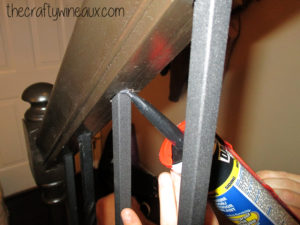
Secure the balusters with Liquid Nails
. We only did this on the bottom of each baluster as we planned on hiding the holes in the top with black caulk
. After inserting the liquid nails, secure the wrought iron shoes.

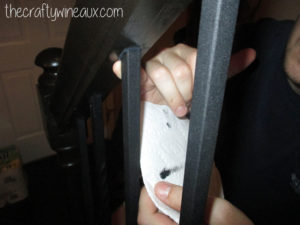
We used black caulk
Install any remaining hardware.
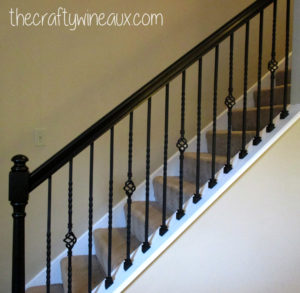
And enjoy your finished product!
- Kona Stain by Rustoleum

