

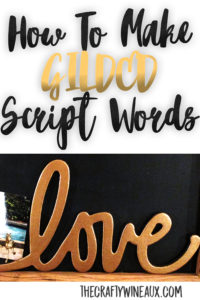
How to Make Your Own Gilded Metal Script Letters for Home and Other Decor Projects
So I made this gold love piece for my office to become part of the decor around my craft table. I was wanting to do something that had a gold leaf/textured metallic look. I considered going with the gold fill sheets and a paper (maché) approach, but it turns out that would have been pretty pricey and time consuming. With the risk of it going bad after all that, I opted for the cheaper easier paint version.
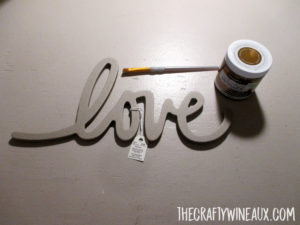
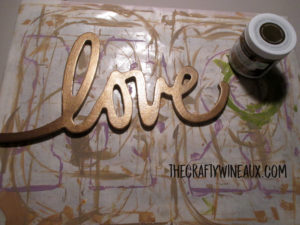
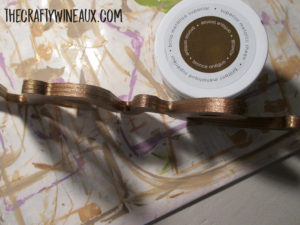
I picked up this recycled cardboard pressed into the scripted “love” shape and (Americana decor metallic paint in Antique Bronze). They had a boat load of other script words in either cardboard or raw wood that would look great as well – all kinds of live, laugh, love, family, etc. They probably have the word you want. Similar crafting words can be found here on Amazon and the paint
is available there too if you don’t have a Hobby Lobby nearby.
This project cost me ~$15 and about an hour of work on and off over an afternoon. Besides these supplies, you will need a paint brush (I prefer these Flat Wedge-Shaped Ones and the one I used it ~0.5” wide), a tiny piece of Super Fine 400 Grit Sandpaper
(gently used is fine as long as the color on it is similar or lighter than the metallic paint you choose), a Clorox Dust Wipe
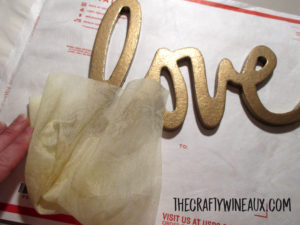
or clean track cloth, and a non stick surface to work on. My favorite for this is used priority mail envelopes with the linen/fabric feel since they’re very non-stick. Wax or parchment paper taped down with masking tape.
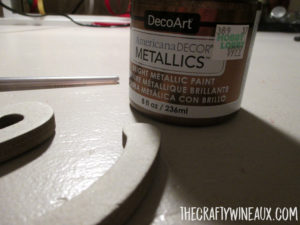
This is the paint color I used. It’s called “Antique Bronze” and was $10 full price at Hobby Lobby. Pull the coupon from their weekly add and it’ll be $6 instead.
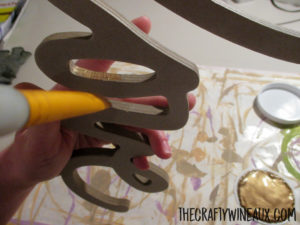
So I start with the edges first. Specifically, get into the tightest spots first so you can hold on to which ever end or balance it however you need to work it out. Save the easiest edges for last so they aren’t a pain when you’re having to hold it awkwardly once most edges are done.
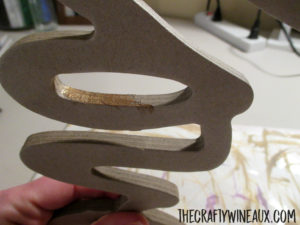
This cardboard is actually pressed together from three sheets of cardboard (see the lines) and they were a little difficult to hide. I used the thickest paint from inside the lid and layered thickly trying to get it to fill in the voids like a putty. If you get it on the front or back along the way, just smooth the paint out into that face and don’t worry about it too much. We solve that later.
After you do a coat on the sides, lay it down face up and do a layer on the front. Don’t worry about doing it thickly here – is actually best if you don’t – and don’t worry if mishaps from painting the sides are there. We’ll solve that after the layer dries.
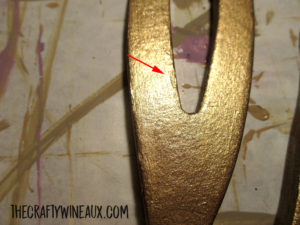
In between each coat is where you have the chance to fix some of the blips like the one here.
Gently take your extra fine grit sandpaper and sand any of the blips down a little bit. You’ll likely still see their outlines, just make sure they’re flat compared to their surroundings by ruining your finger over the spot. It’s best to do this in between each coat so it doesn’t look sloppy at the end.
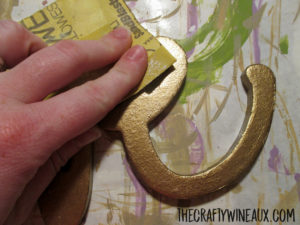
After you sand, use your (Clorox Duster) or tack cloth to wipe your word down and pick up the first prior to the next layer. It ensures everything lays down nicely.
The sides can be a bit of a pain, but many layers of thick paint eventually fill this. Just be protective of the front to avoid the blips as best you can saving yourself sanding work. Start with the sides first for every layer you put on.
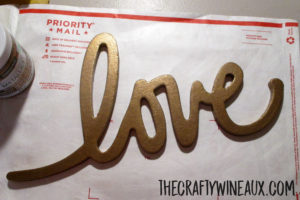
When you think you’re about there and you’re happy with the sides, it’s time for the last layer. Be sure any odd spots are sanded, and then for the last layer, paint only the top to ensure its smooth and beautiful. If your last sanding spots are still visible, add one more coat to just the top. Once it’s all good and dry, you can choose to do a light paint coat or two on the backside if you’re a perfectionist like me. Just be careful not to get any drips on the sides.
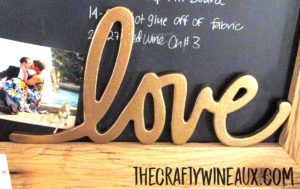
And here’s the final product! I balanced mine inside of the frame around my chalkboard, but you could put wall hangers on it or balance it on a shelf it you wanted that instead.
